 |
 |
 |
 Info Box
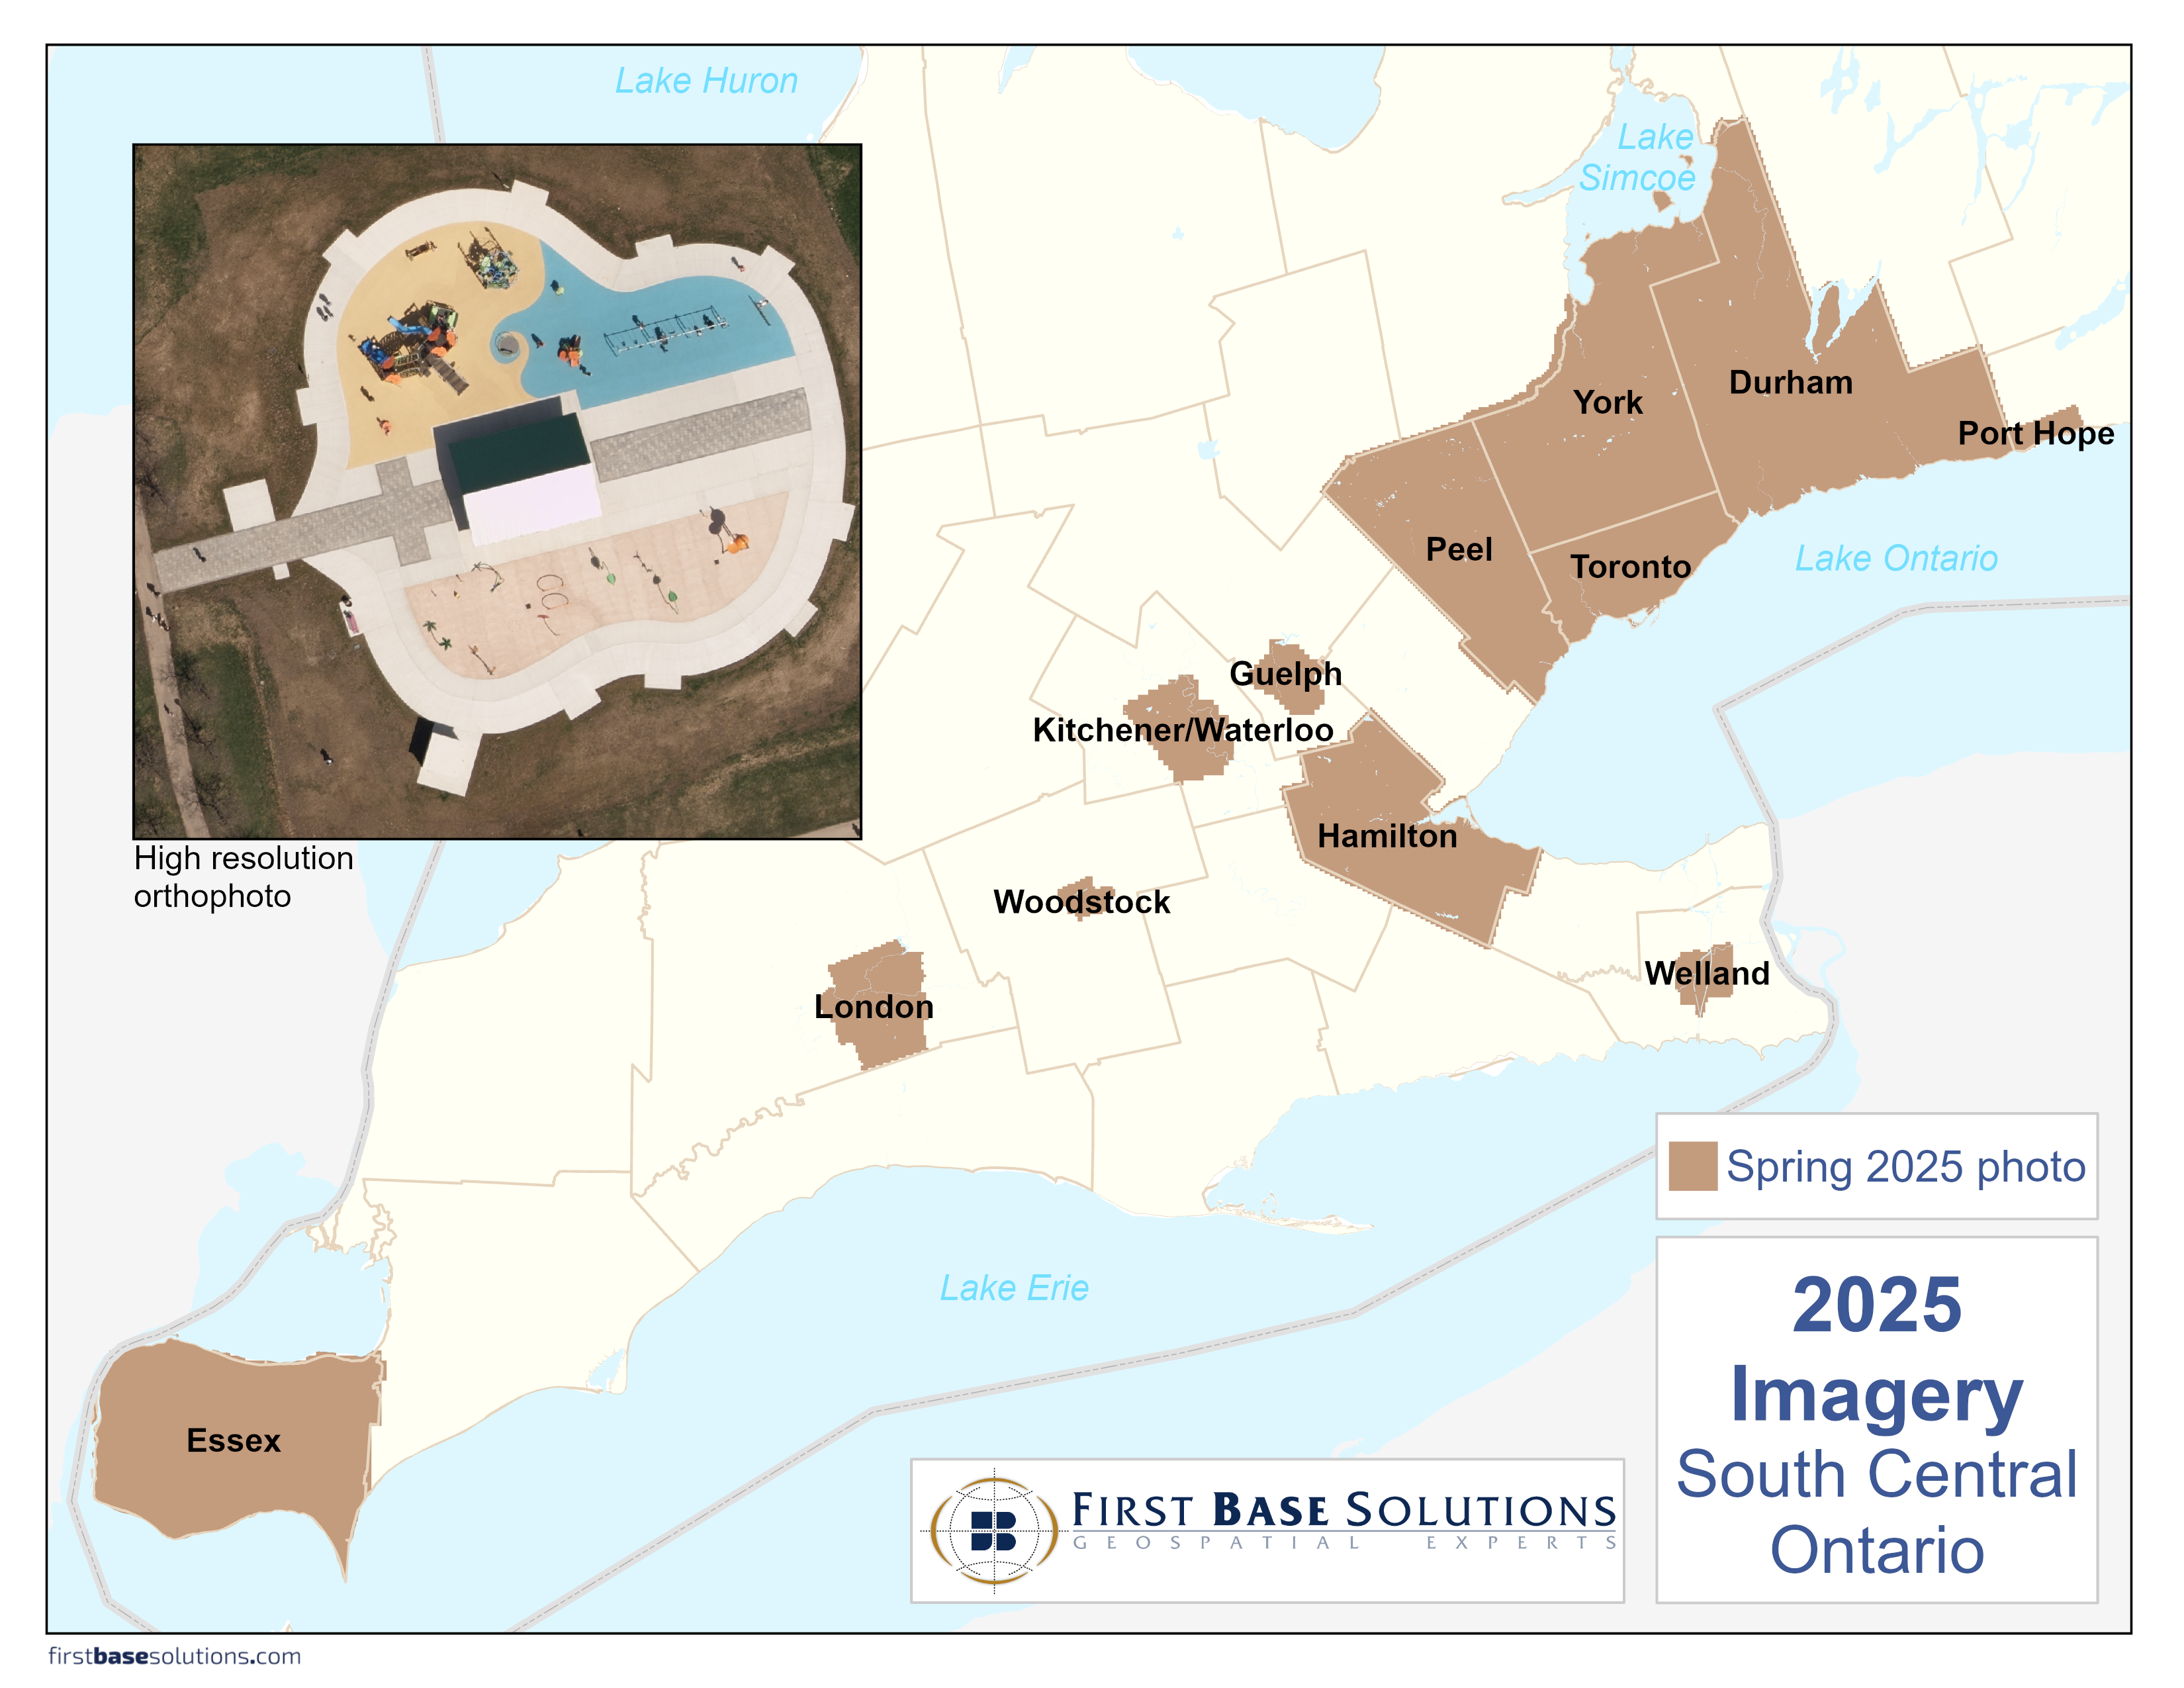
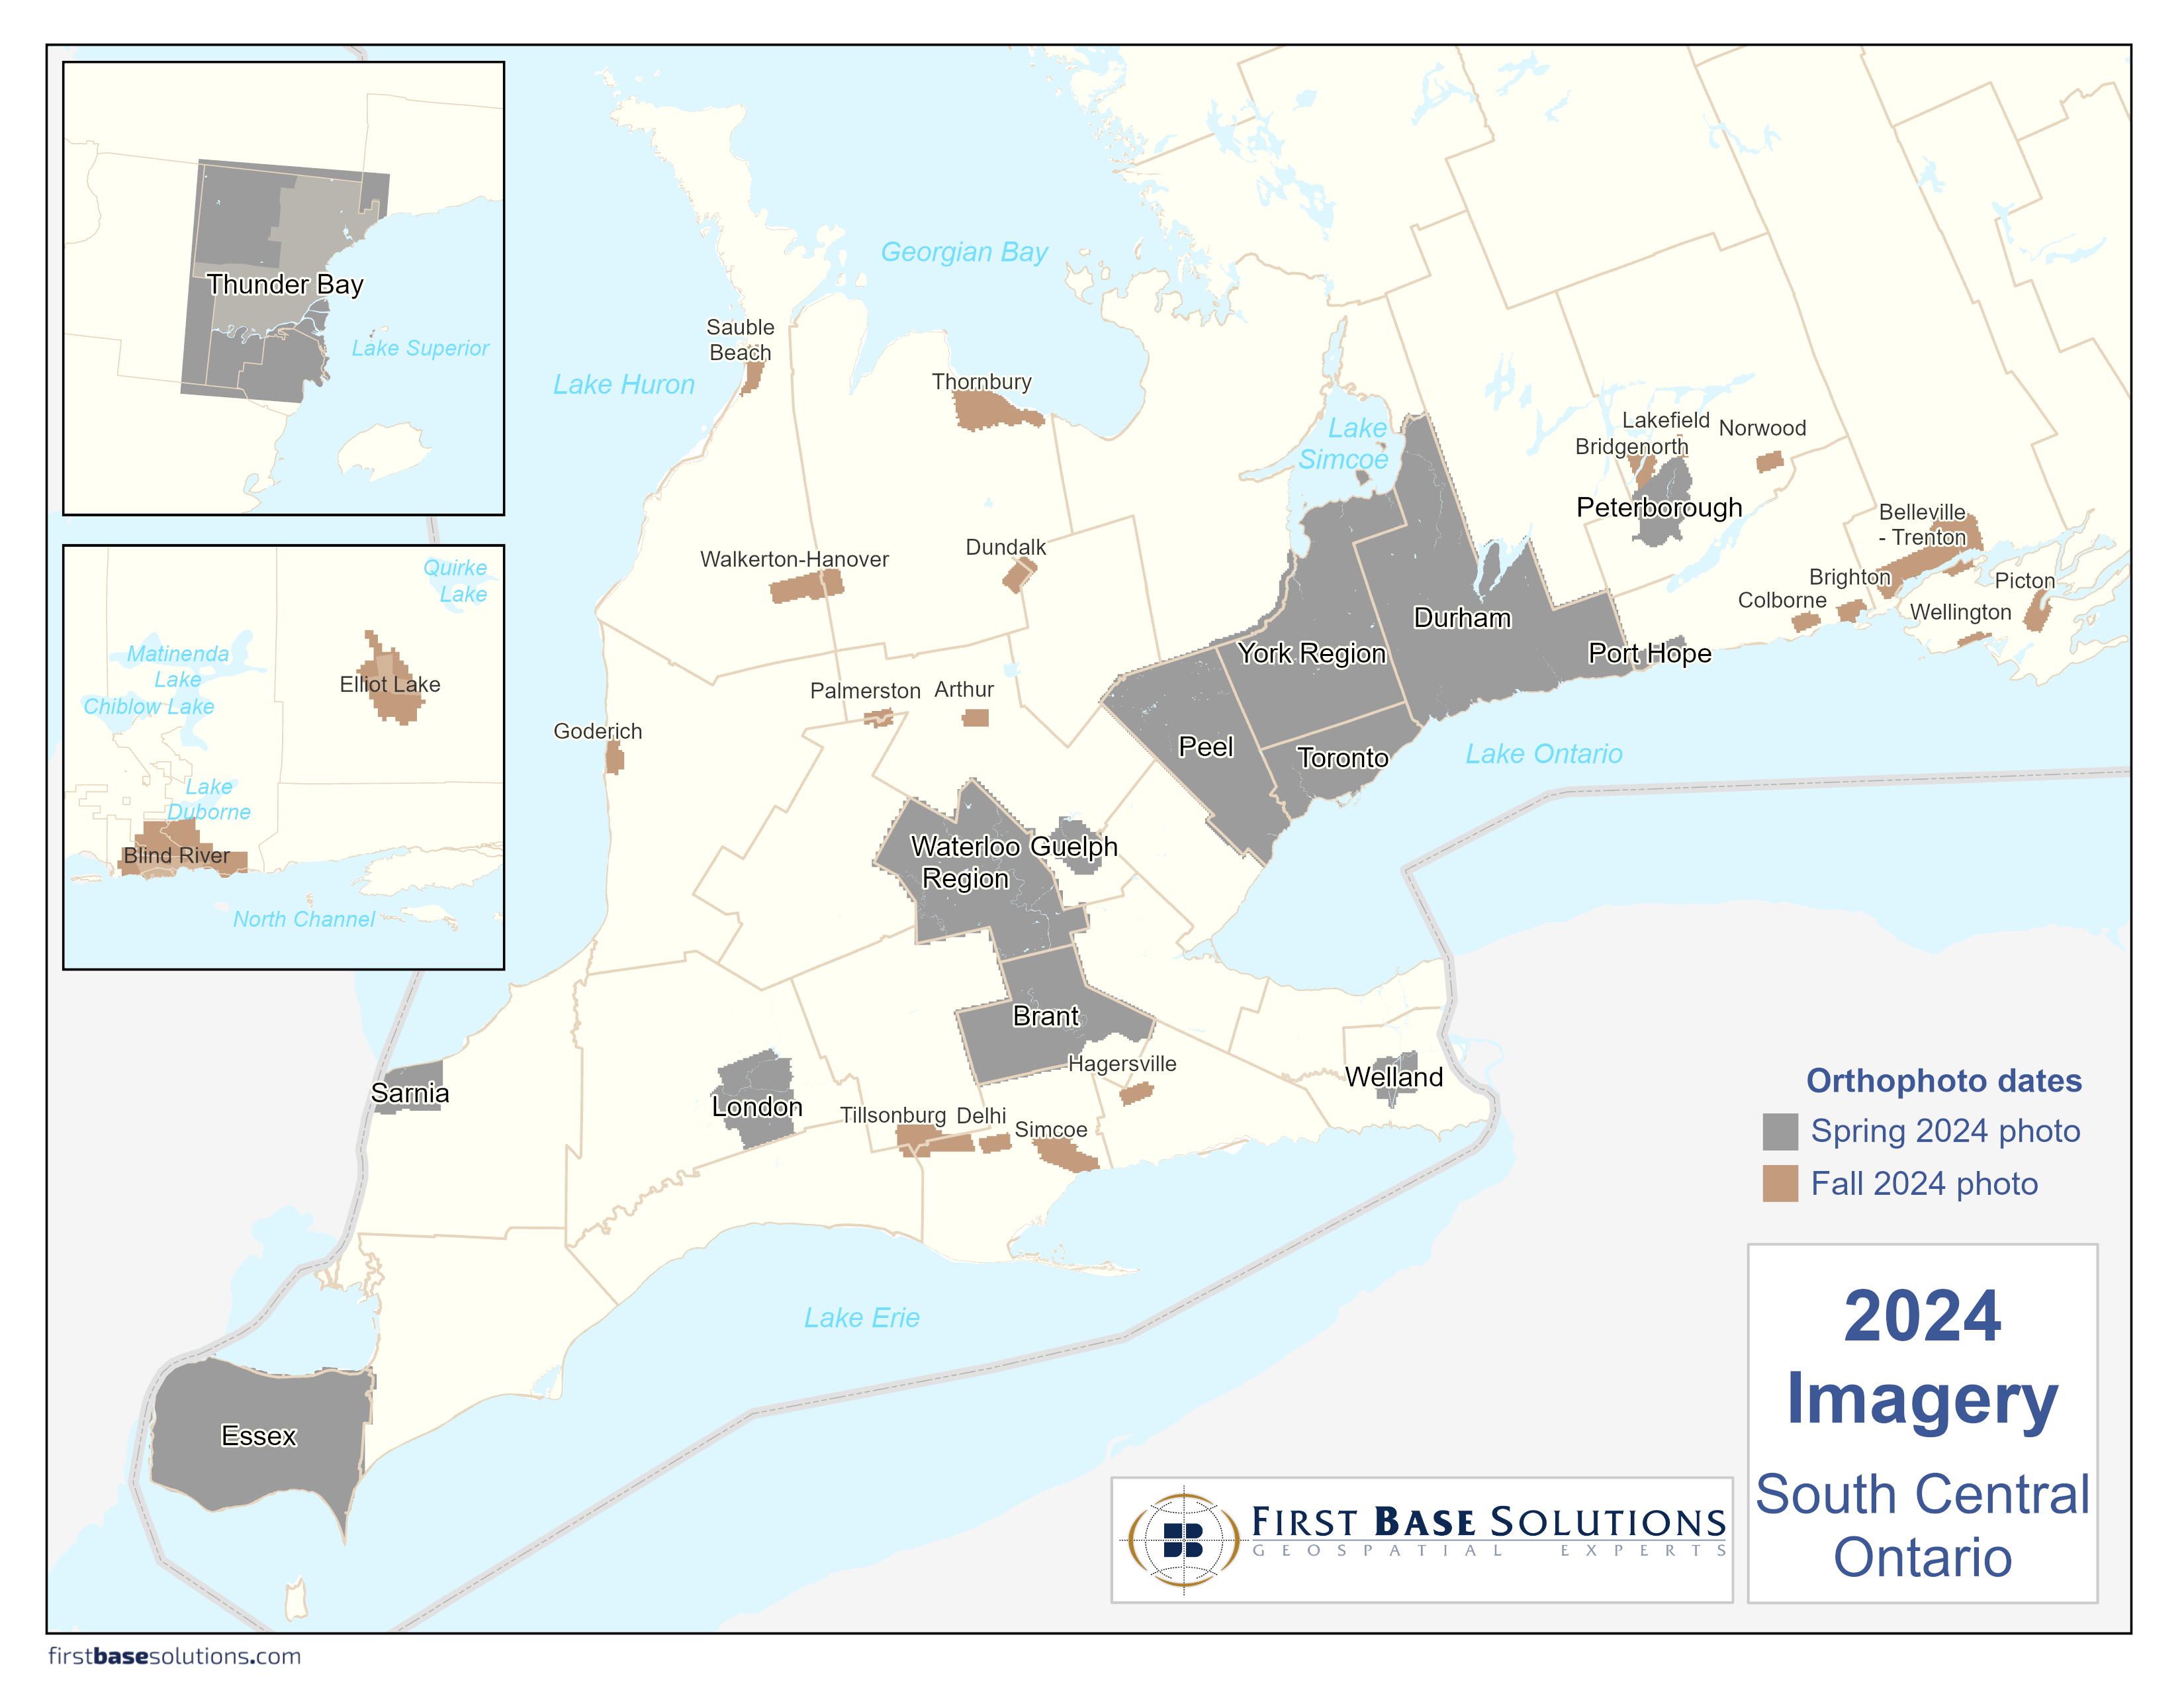
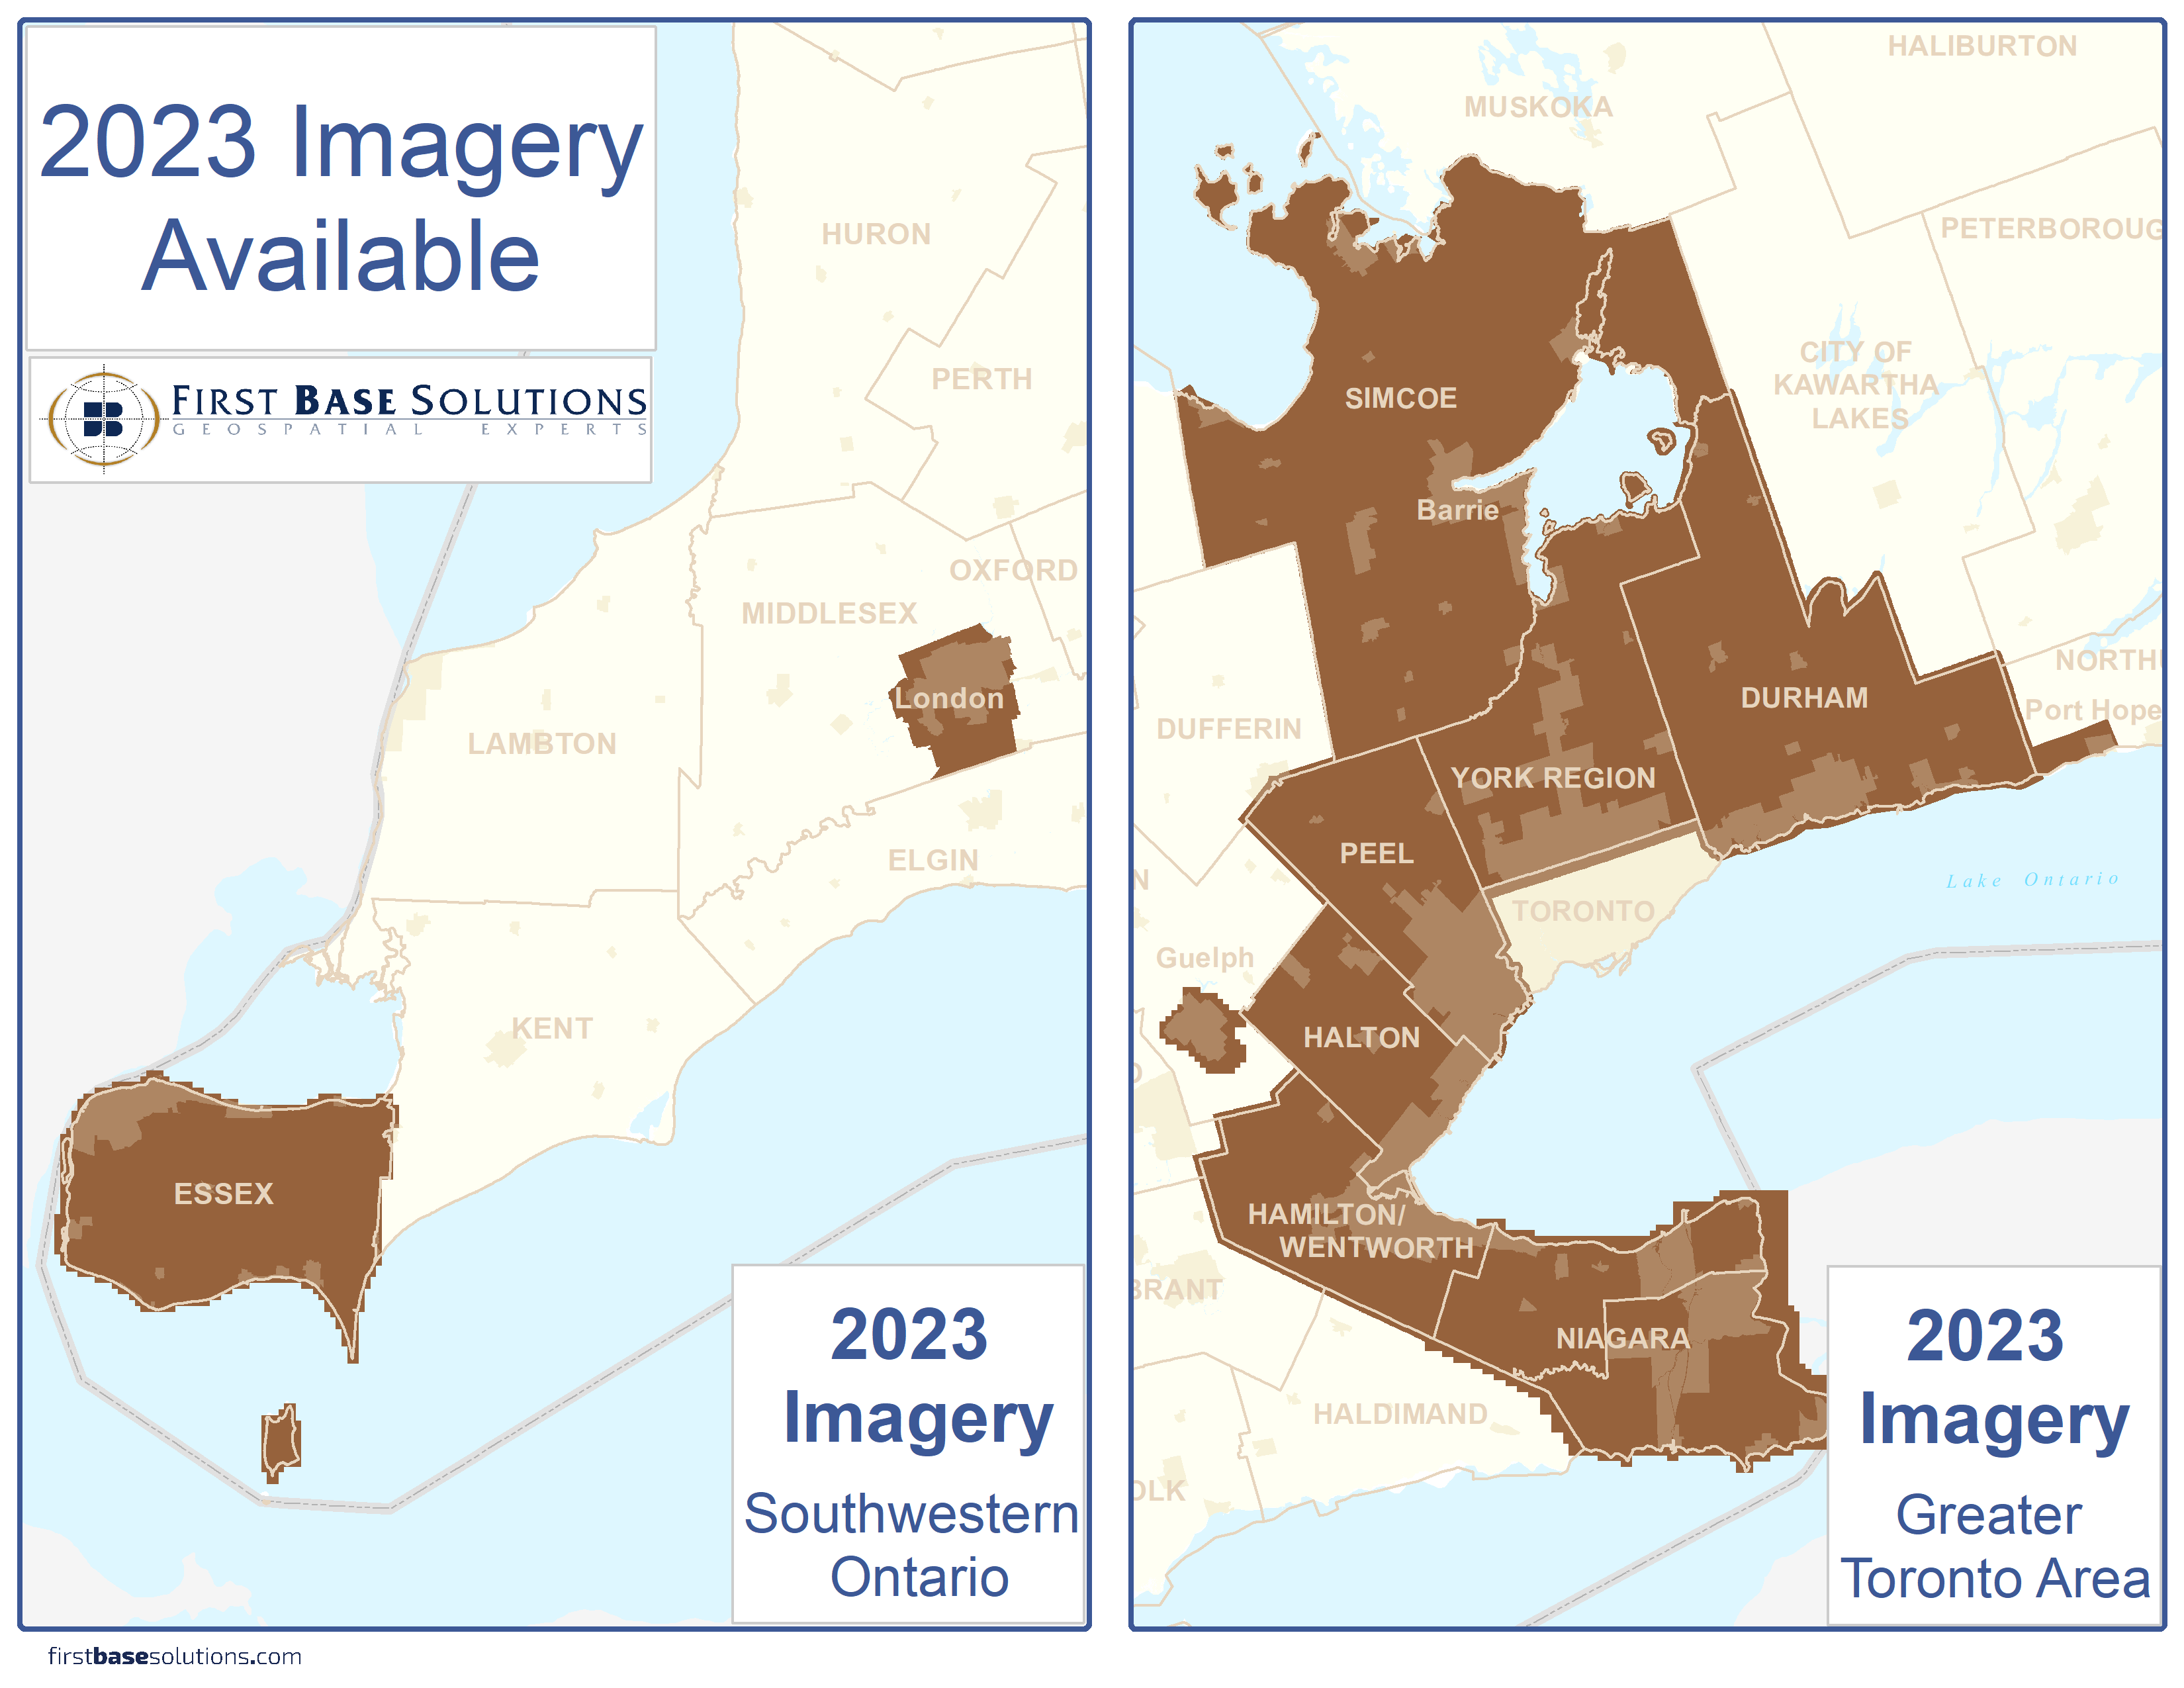
 Orthophoto Mapping (386)
  Satellite Imagery (1)
  Teranet Parcel (1)
  Airborne Imaging Bare Earth Lidar (3)
  Digital Elevation Model (2)
  Contours - 1m (1)
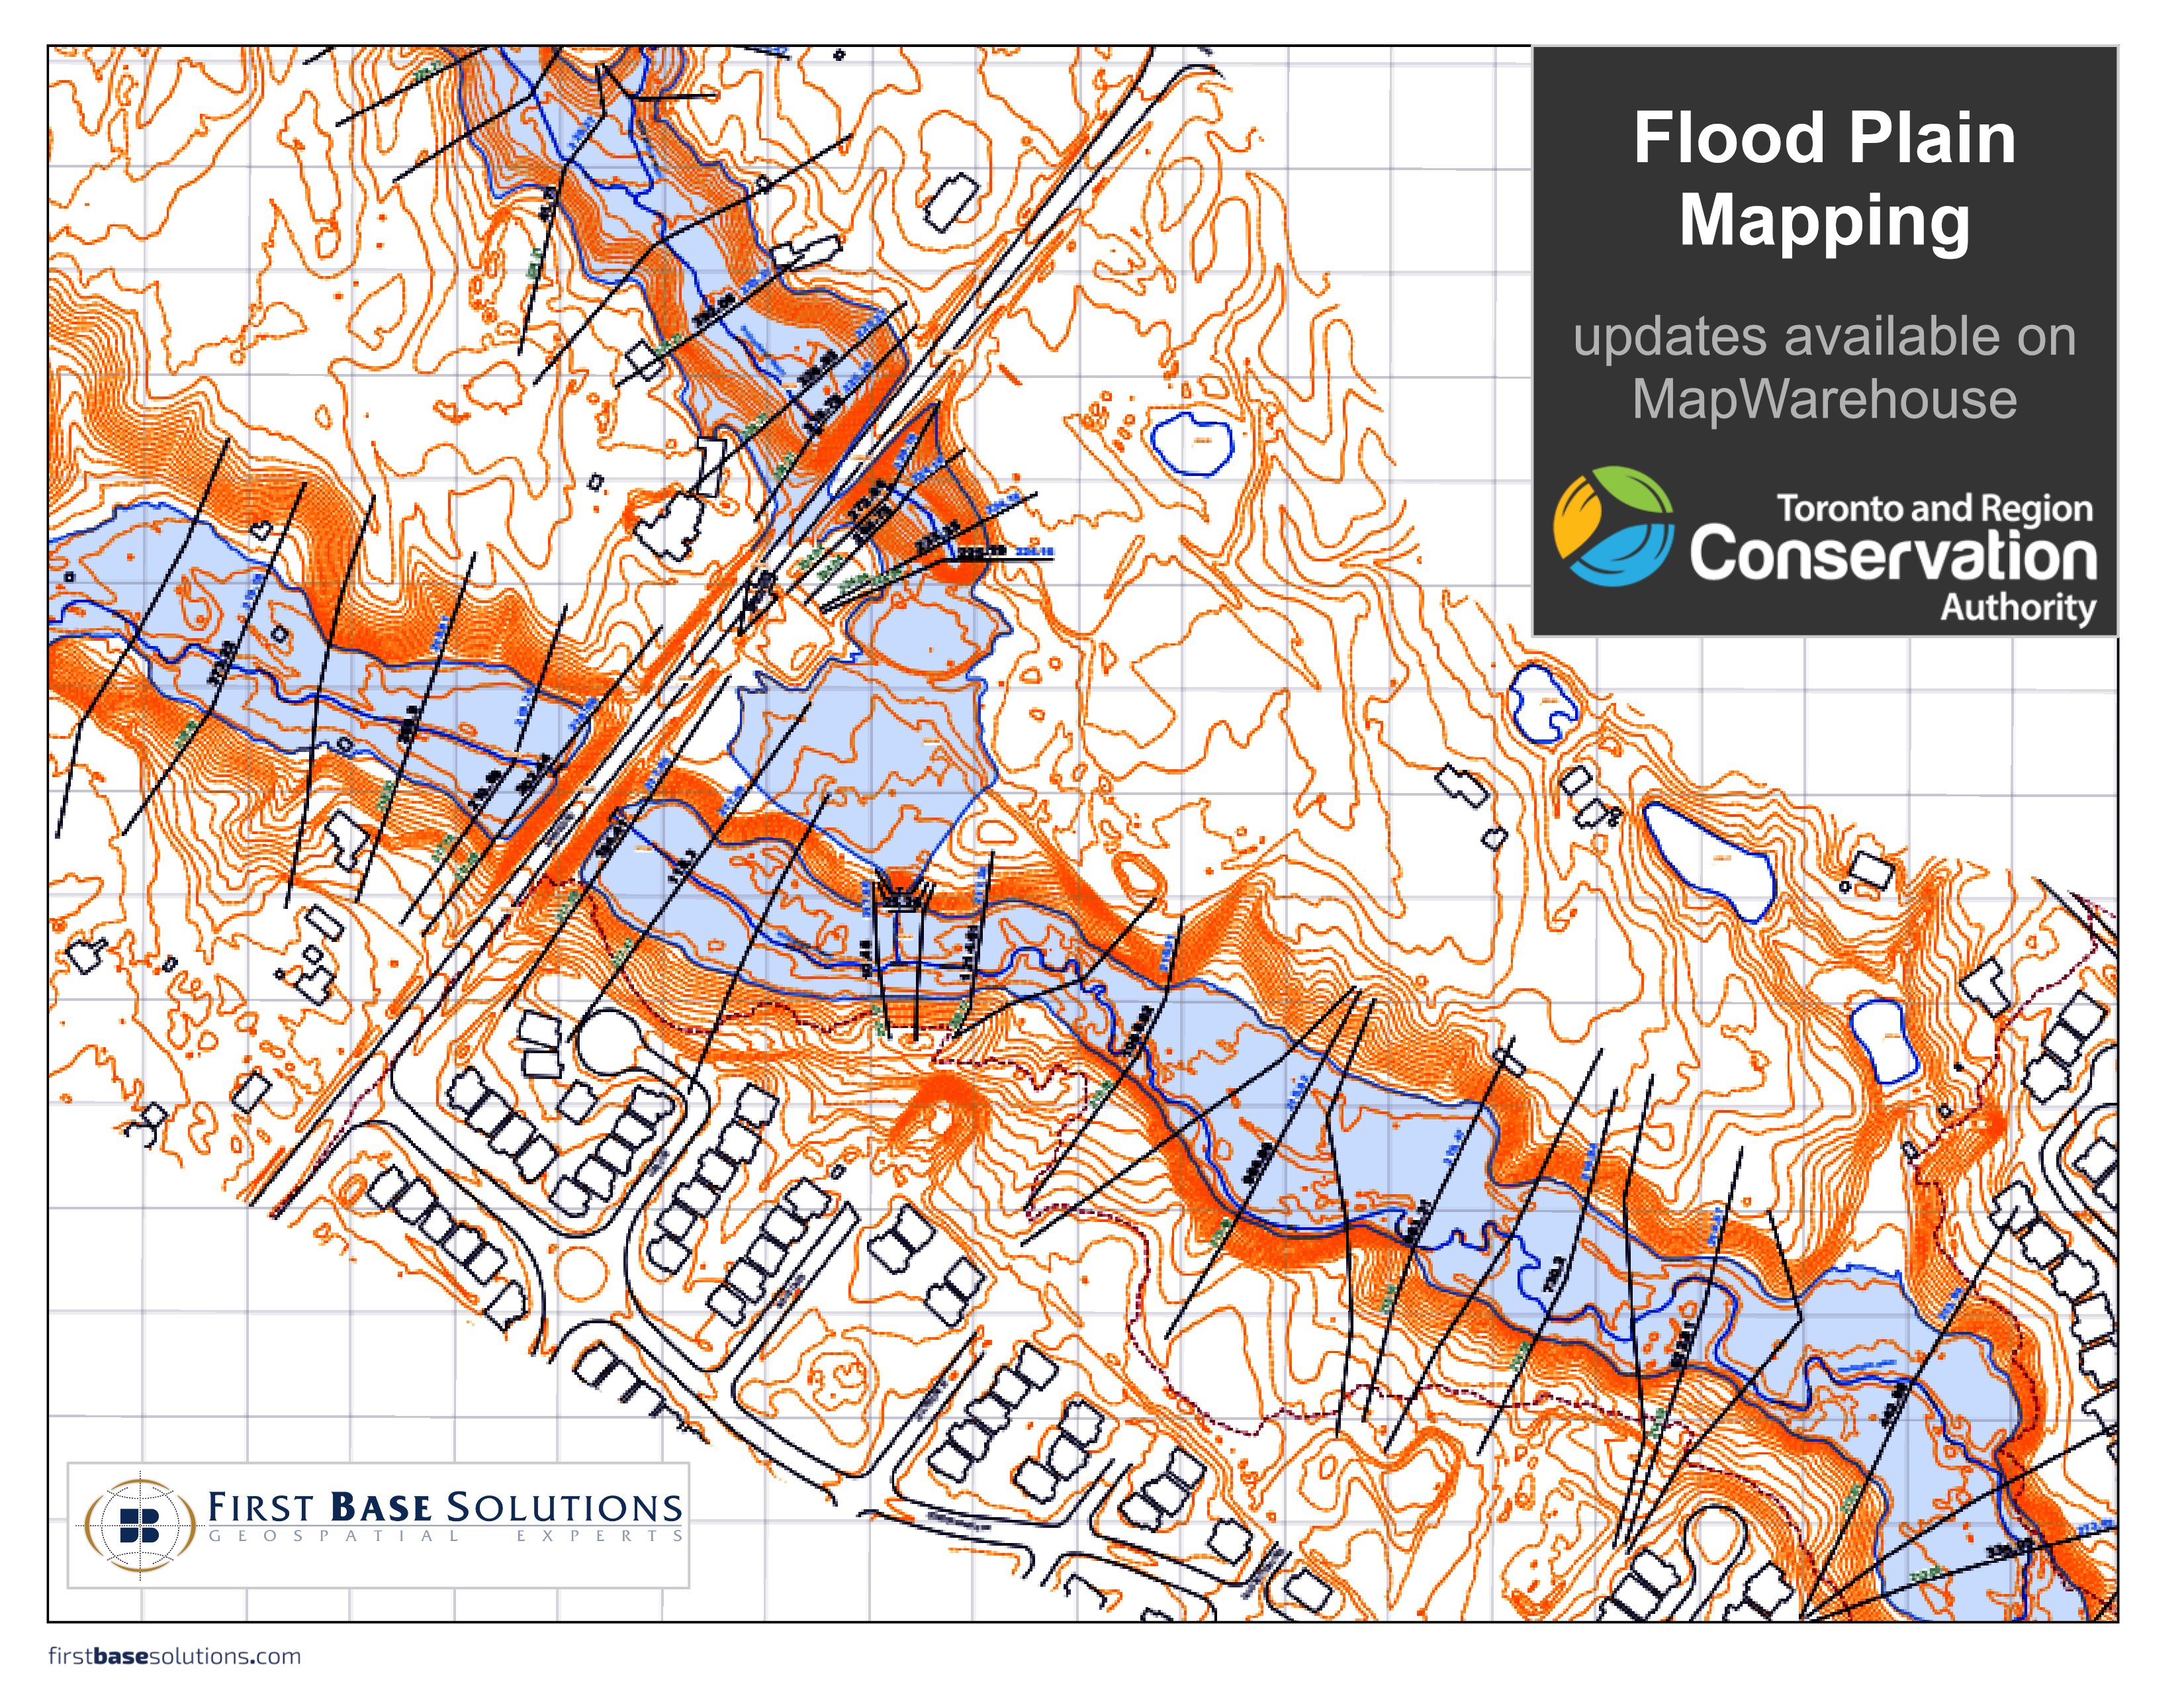
  Flood Plain Map Vector (1)
  Flood Plain Map PDF (1)
  Moraine Groundwater (5)
  Ontario Base Map Raster (2)
  Ontario Base Map Vector (2)
  Ontario Base Map PDF (2)
  Aerial Photo (1)
  3D Building (6)
  ITEMINFORMATION
 WARNING
 HELPTOPICS
 MAP HELP
 INFO BOX HELP
 ICON GLOSSARY
 Polygon Selection:
This tool will allow you to query our database for available data using a custom polygon. Clicking once on this icon will enable the tool and clicking on it again will disable it.
- When the Polygon Selection Tool is enabled you can begin placing markers on the map to define a polygon.
- Clicking on the first marker a second time will close the polygon, but a minimum of three markers must be placed on the map before the polygon can be closed.
- Once a polygon has been defined on the map, the available items will be displayed in the Item Selection Box to the right of the map window.
- Only the first 200 results will be displayed in the Item Selection area of the Info Box. To increase the accuracy of your search, zoom in to a smaller area or use the Item Selection Filter area of the Info Box to filter the data requested.
- To begin a new polygon simply click on the map again to place the first marker for a new polygon. The original polygon will be cleared.
- At any time, clicking on the Polygon Selection icon will disable the tool and remove any drawn polygons from the map.
 Point Selection:
This tool will allow you to query our database for available data using a point marker. Clicking once on this icon will enable the tool and clicking on it again will disable it.
- When the Point Selection Tool is enabled you can click anywhere on the map to place a marker.
- Once a marker has been placed on the map, the available items will be displayed in the Item Selection Info Box to the right of the map window.
- To increase the accuracy of your search, zoom in to a smaller area or use the Item Selection Filter area of the Info Box to filter the data requested.
- To query a different location simply click on the map again to place a new marker. The original marker will be cleared.
- At any time, clicking on the Point Selection icon will disable the tool and remove any markers from the map.
 Help: This tool toggles this help window on and off. The topic is highlighted in green on the left. Clicking on the "X" button at the top right of this window will also close the Help Window.
Google Navigation Tools
Arrow Buttons:Click the appropriate arrow button to move the view North, South, East, or West. Click the centre button to return to the original view.
Centre On a Point:Double-clicking anywhere on the map will centre the map window on that location.
Click & Drag Panning:You can pick up the map at any time, by clicking down on the map then dragging it in any direction. Releasing the mouse button will drop the map in place.
Zoom Buttons:Click the + button to zoom in on the centre of the map. Click - to zoom out.
Zoom Scroll:If your mouse is equipped with a scroll wheel, you can use it to zoom in or out on the location of the cursor on the map. Scrolling forward will zoom in and scrolling backard will zoom out.
Zoom Slider:Click and drag the zoom slider up or down to zoom in or out incrementally.
Item Selection Filter:
If you find you are getting too many results in the Item Selection window you can use the options in this window to
narrow your search. You can use the check boxes to exclude entire groups of data or specific data layers. You can also
use the  icon to zoom to the location a specific data layer covers, or simply roll over the
name of the data layer to highlight it. Note that you will not see the highlight if that data layer does not
fall in the current map view.
Item Selection:
This window is where you will find the data you are looking for. When you query the map using either the
polygon selection or the point selection tool, the results of your search will be displayed here. The results
will be grouped into different data types (ie. raster orthophotography, raster ontario base mapping, vector ontario
base mapping, etc.) and each of these groups will contain the year of the data. Within each available year you will
find the items that fall within your selection. To see where this item lies on the map, simply roll over the name
and the item will highlight on the map. To get more information on the individual item, click the
 icon. To zoom the map directly to that item, cick the
  icon.
Finally, to add this item to your shopping cart, click the
 ![]() icon. Note that you must be
logged in to add an item to your cart.
icon. Note that you must be
logged in to add an item to your cart.
Order History:
This window is only used if you have already logged in. In this window you will find any items you have previously ordered.
Your past purchases are grouped by the order date and then the data type.
Similar to the Item Selection window, you can see where the item lies on the map by simply rolling over the name
and the item will highlight on the map. You can also use the  and
and
 icons to view additional information about the item or zoom the map window to
that specific item.
Shopping Cart:
This window is only used if you have already logged in. In this window you will find any items you have added to your cart.
Similar to the Item Selection window, you can use the  and
and  icons to
view additional information about the item or zoom the map window to that specific item. Additionally you can use the
 icon to remove the item from your cart. Note that items will stay in your cart until you remove
them. So, if you log out and leave the site, and come back at the later time, any items you have added to you cart will
still be in there.
Search:
There are three types of searches available from the search window. You can do a basic search where you can enter a place name,
an intersection or an address. Then you simply press the search button and your results will be displayed below. You can click
on the results to have the map zoom to that result.
The lot and concession search works in a similar fashion but is used to find
a specific lot and concession in a township. Simply start typing the township name, and the list below will auto populate with
the townships that match what you have typed. If nothing shows up, then there is no match. Once you see the desired township
in the list, click on it and the lot menu will be populated with a list of lots within that township. Select the desired lot
and hit search. The results will now show up below, and similar to the basic search, you can click on the result to have
the map zoom to that result.
The advanced search can be used to locate specific items given the item ID or the filename.
Type in the search criteria and press the search button. The search results will appear if there are any matches.
You can click on the result to have the map zoom to that result or use the  to view more information about the item.
 -
Expand Group: Click to expand a grouping of data.
 -
Collapse Group: Click to collapse a grouping of data.
 -
Zoom To Item: Click to zoom the map browser to the corresponding item.
 -
View Info: Click to open a window containing more detailed information about the corresponding item.
 -
Show Grid: Click to outline the corresponding item/group on the map browser.
 -
Hide Grid: Click to remove the outline for the corresponding item/group on the map browser.
![]() -
Add To Cart: Click to add the corresponding item to your shopping cart (must be logged in).
-
Add To Cart: Click to add the corresponding item to your shopping cart (must be logged in).
![]() -
Item In Cart: Designates that the corresponding item is already in your shopping cart.
-
Item In Cart: Designates that the corresponding item is already in your shopping cart.
 -
Delete From Cart: Click to remove the corresponding item from your shopping cart.


